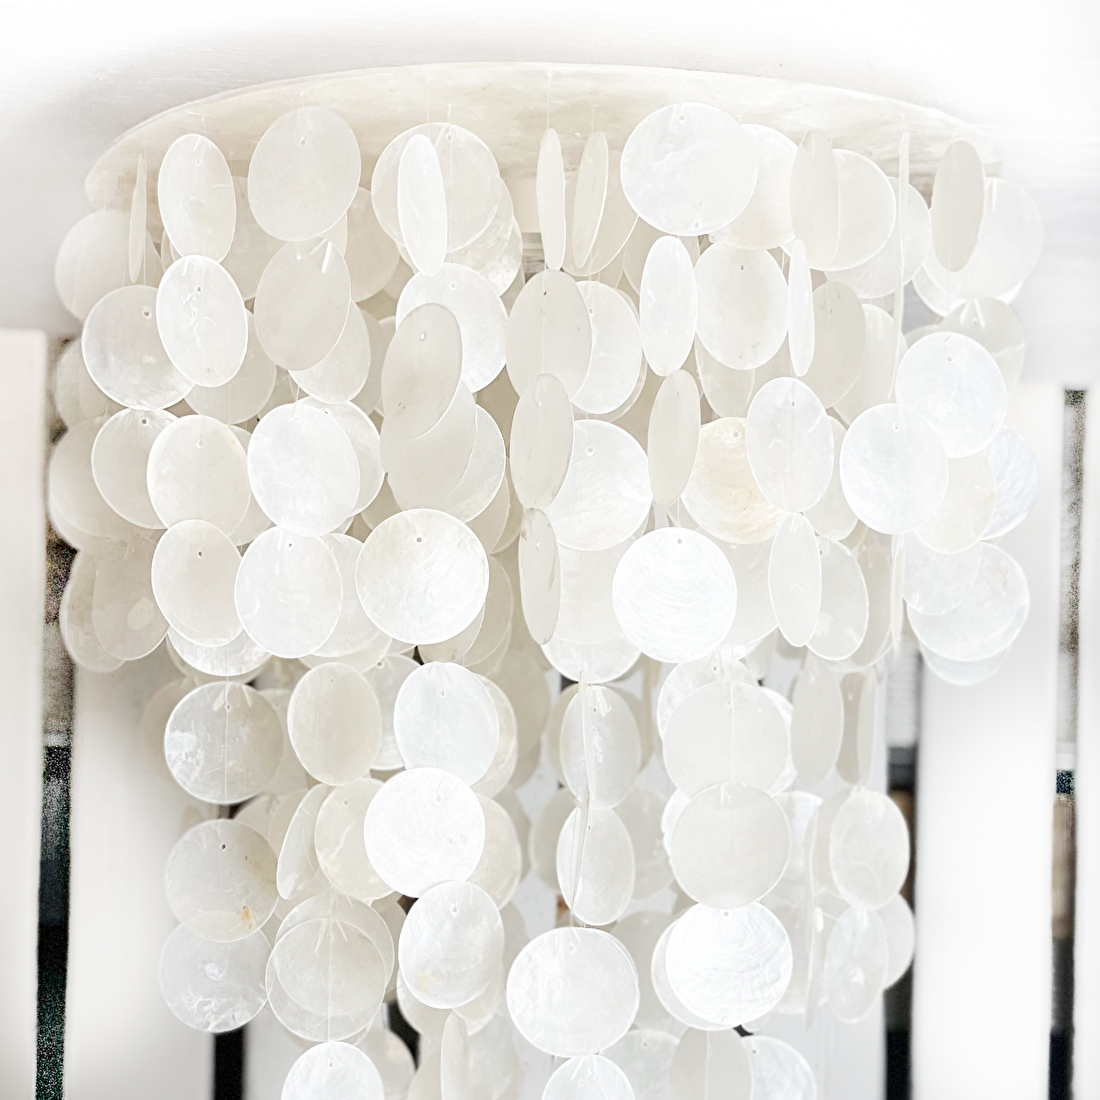
Hanging tips Capiz shell pendant lamps
All Capiz shell pendant lamps can be hung with a pendant. Smaller models can also be perfectly mounted directly to the ceiling with a ceiling fitting. We'll explain step-by-step how to complete both of these tasks here!
Hanging with pendant/fitting
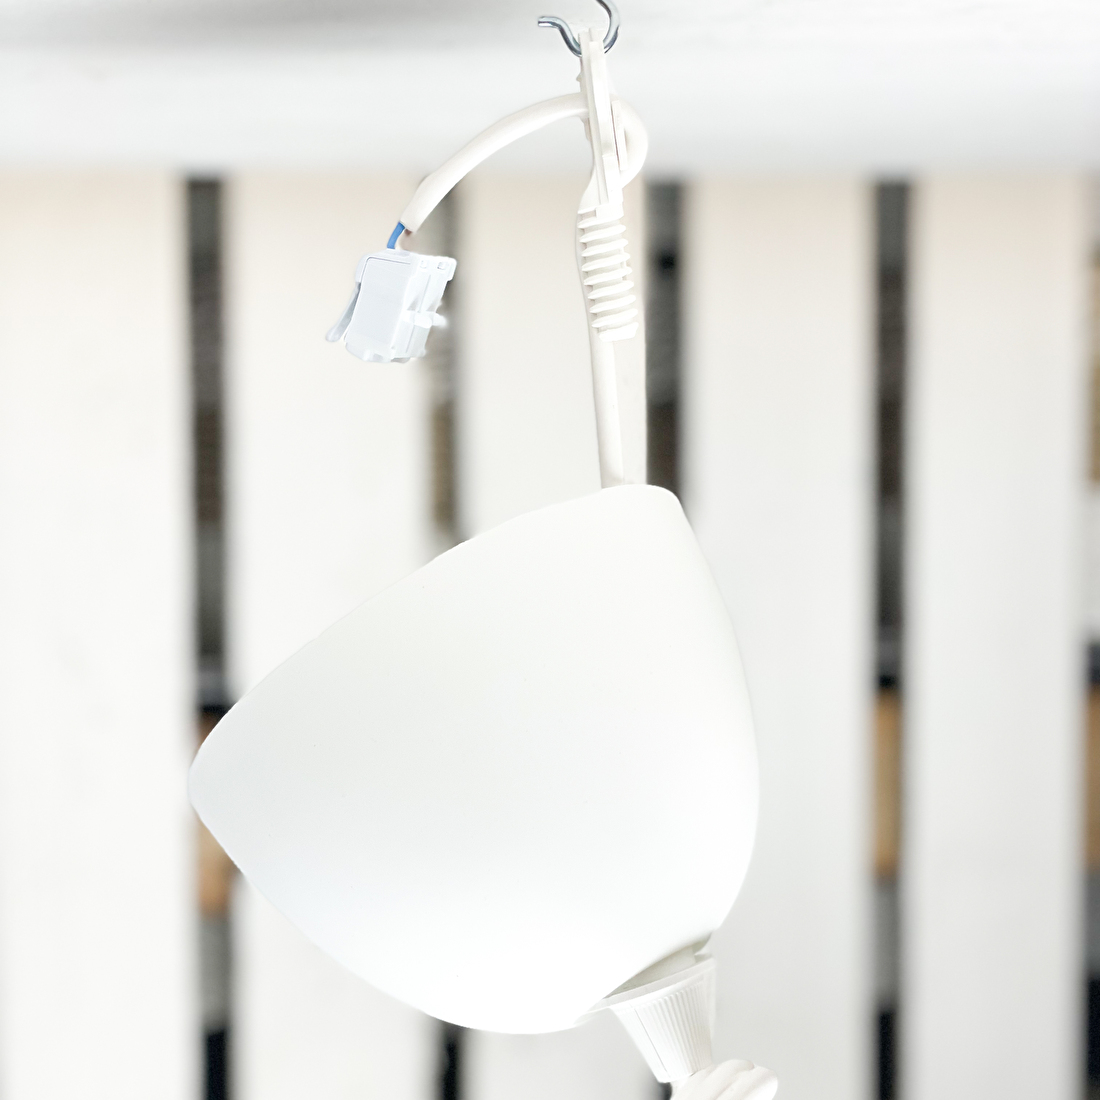
Using a loop on the Capiz lamp, you can easily hang it from a ceiling hook! If the power outlet is directly above the lamp, you can hang it neatly with the included pendant!
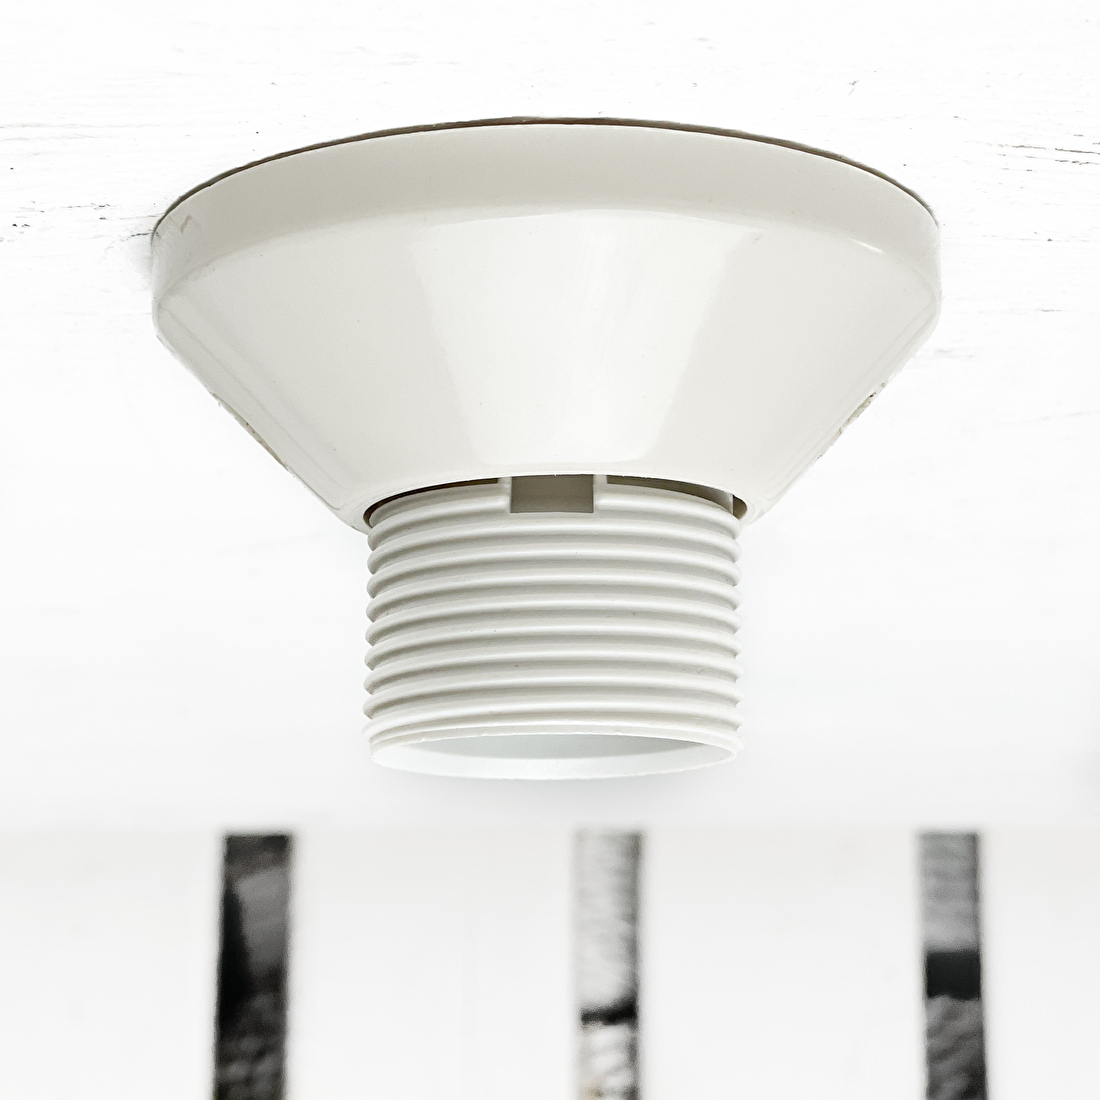
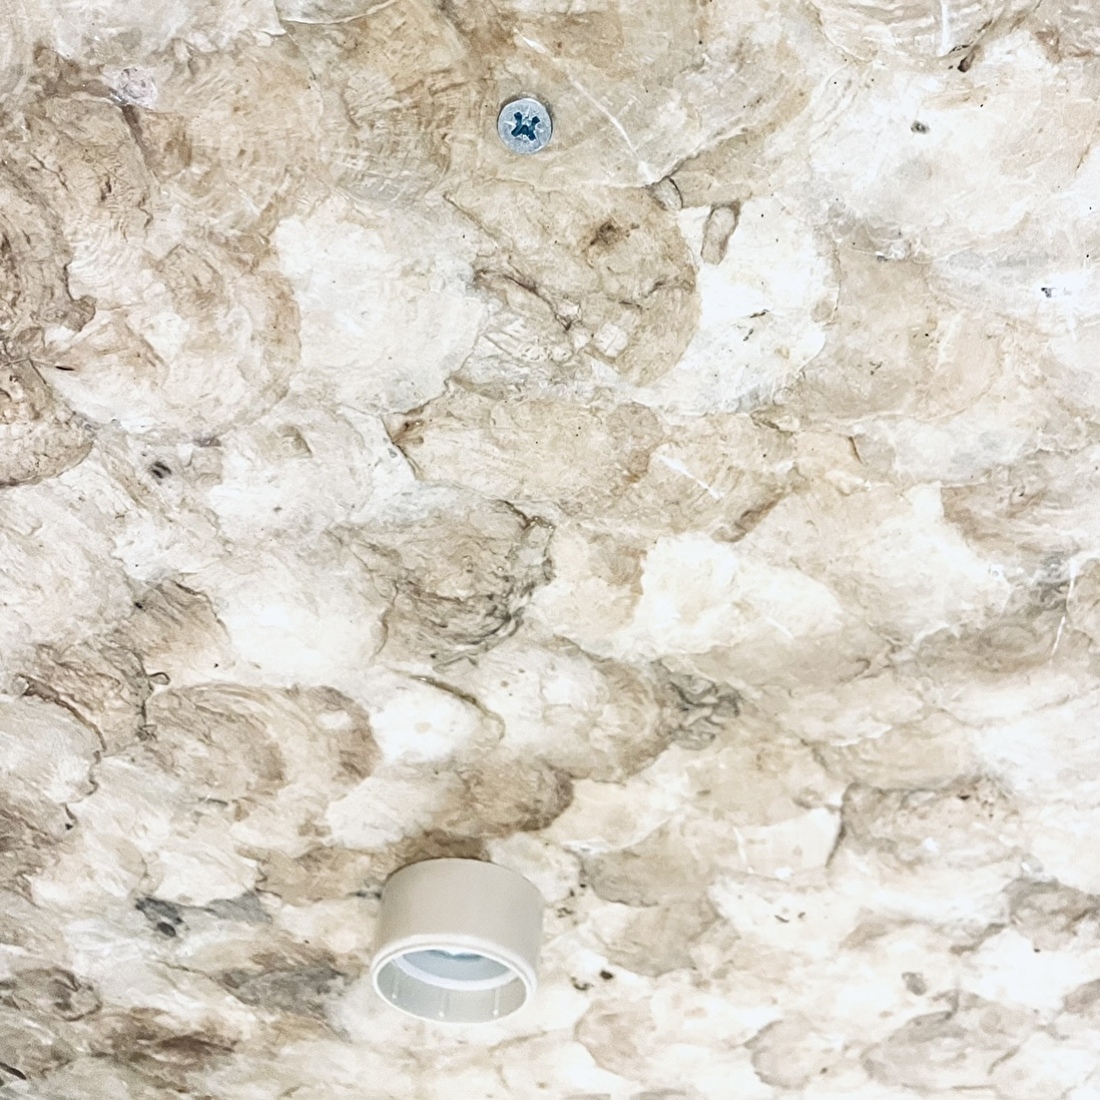
Hang the pendant/fitting on a ceiling hook/ceiling socket and adjust the required length of the power cord.
Now pull the loop/wire from the lamp through the hole in the pendant/fitting ceiling rose and hang it on the same hook in the ceiling/ceiling socket.
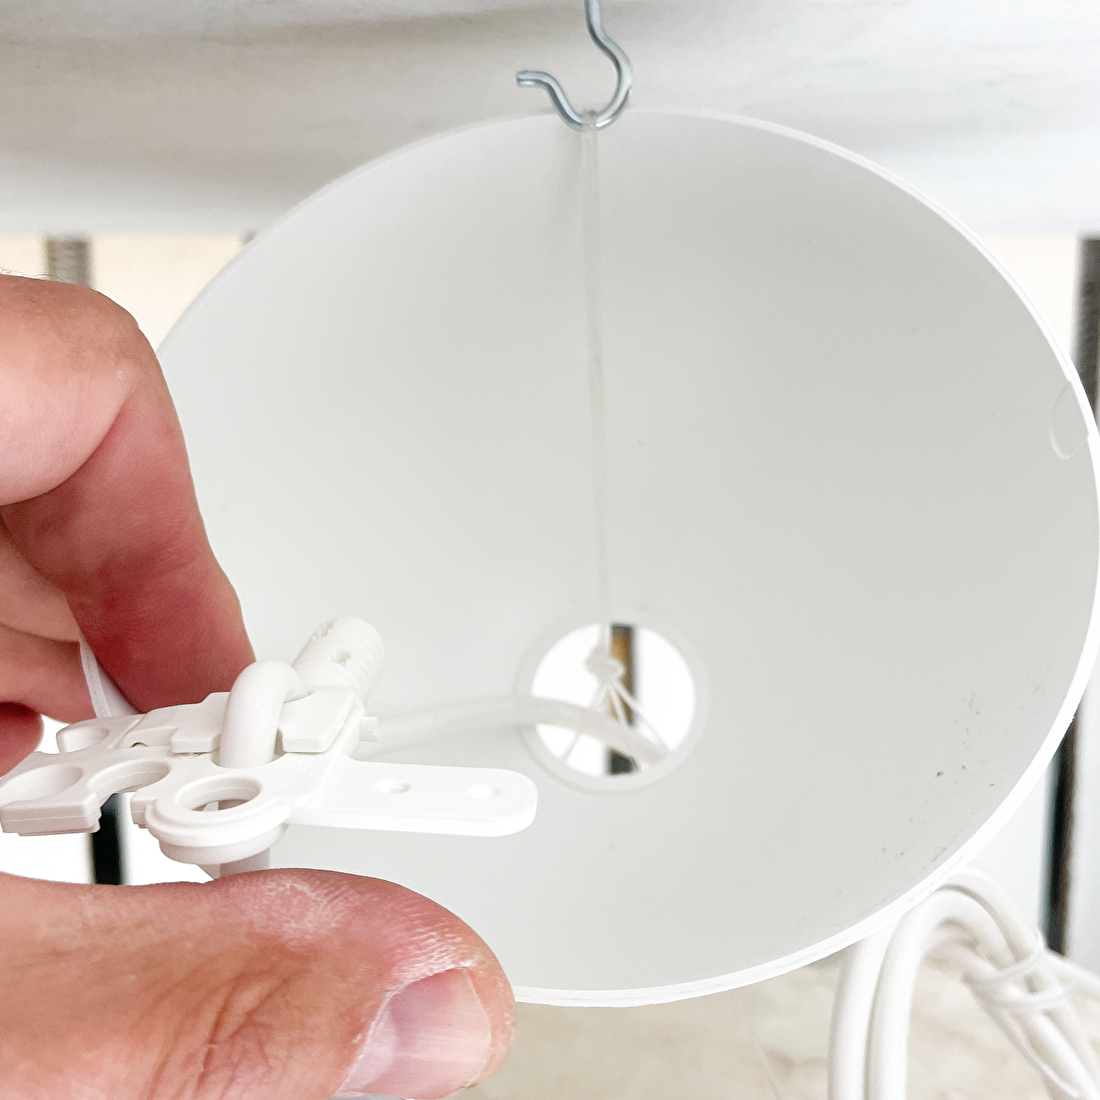
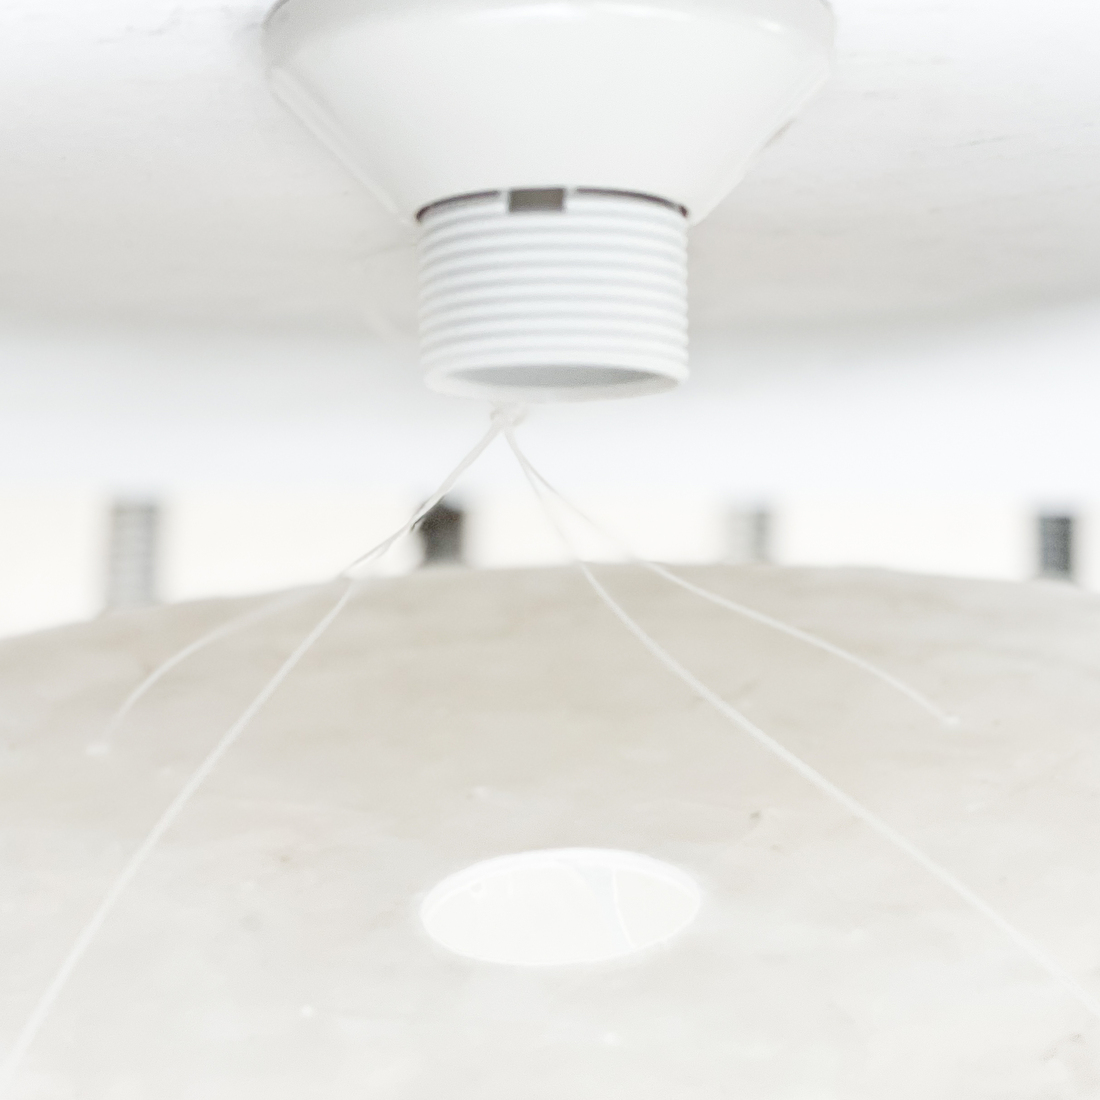
For illustration purposes only, without the power cord, and below together on the same hook
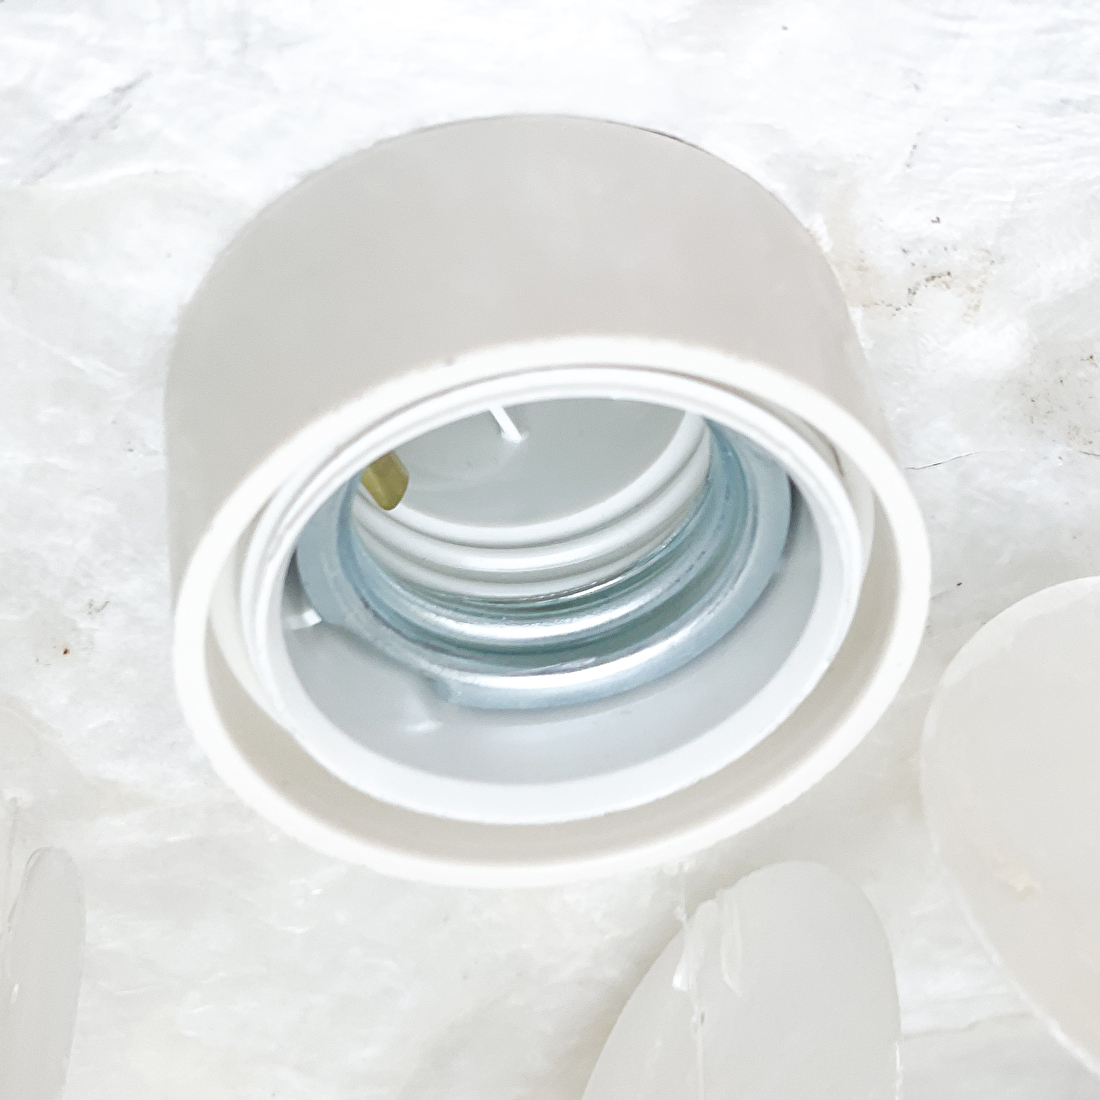
Install the pendant/fitting in the lamp and adjust the length of the power cord. Shorten the cord where necessary, but not too short! Always leave the cord slightly longer than necessary. Make sure the power is off and connect the terminal block to the power supply. If necessary, test the lamp before continuing!
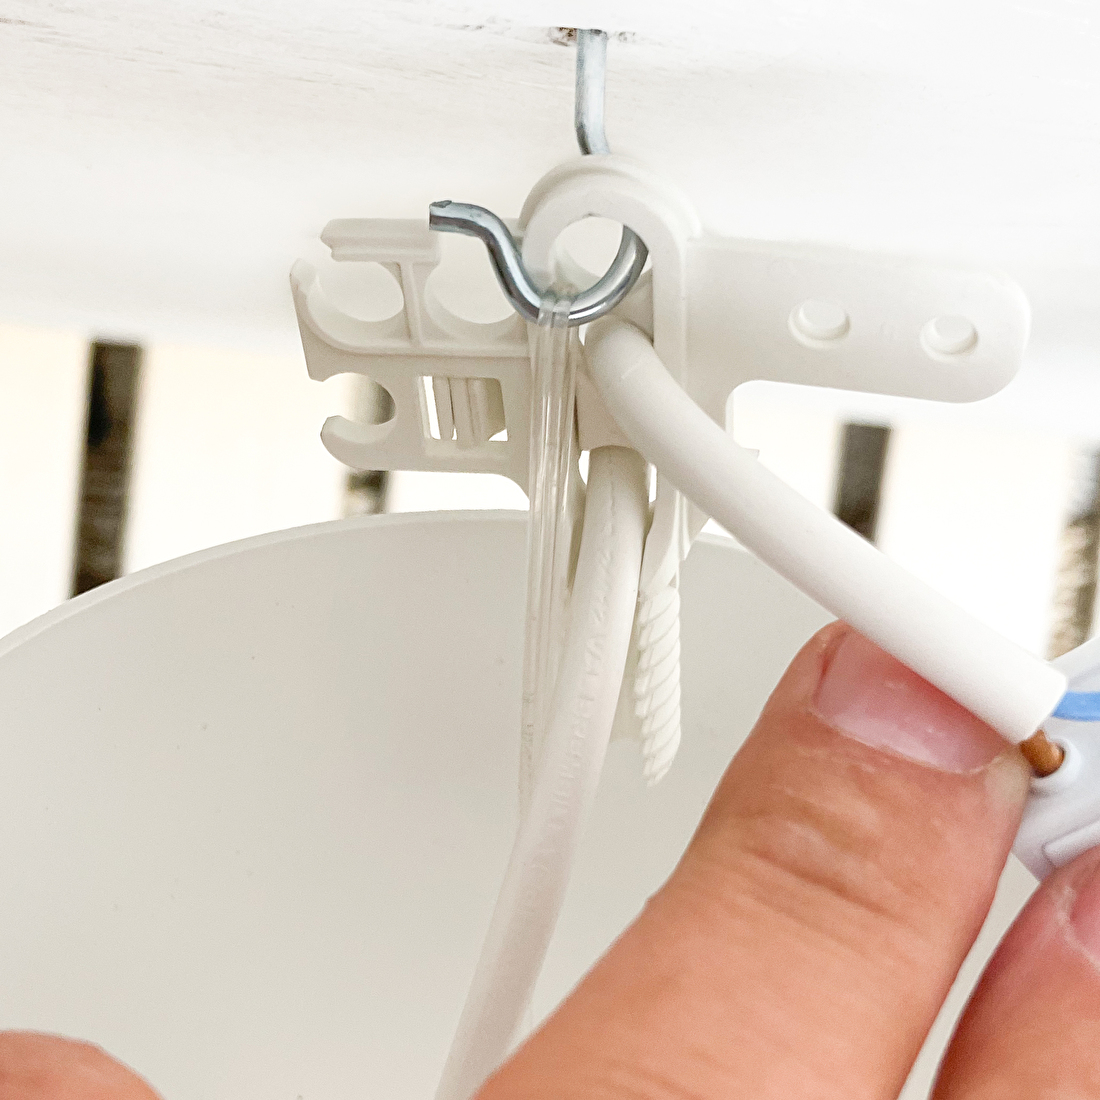
Now make sure the lamp loop runs behind the power cord in the hanging section/screw system. You can use a thin piece of adhesive tape to keep everything tightly together if the next step proves difficult.
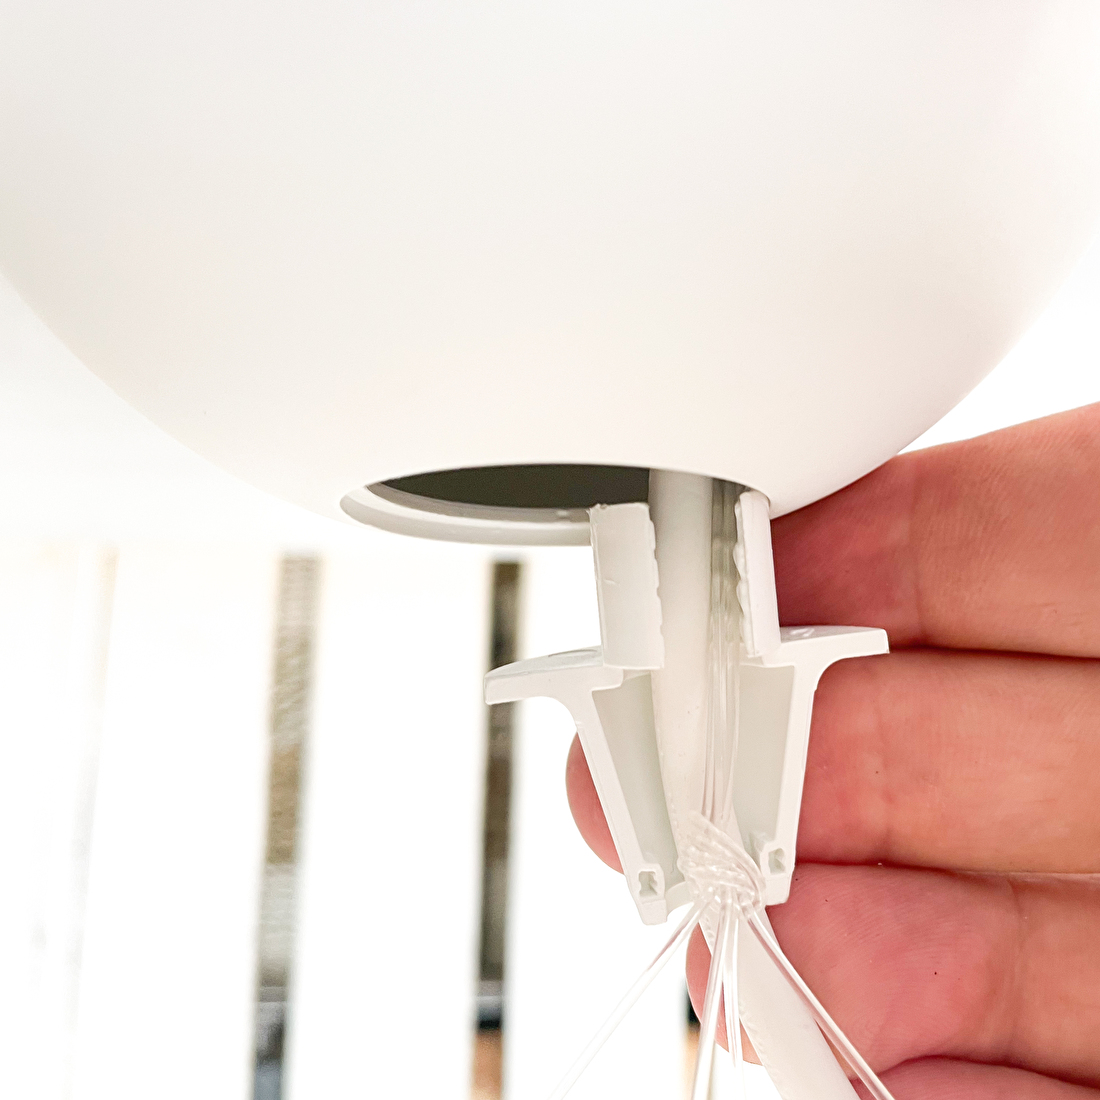
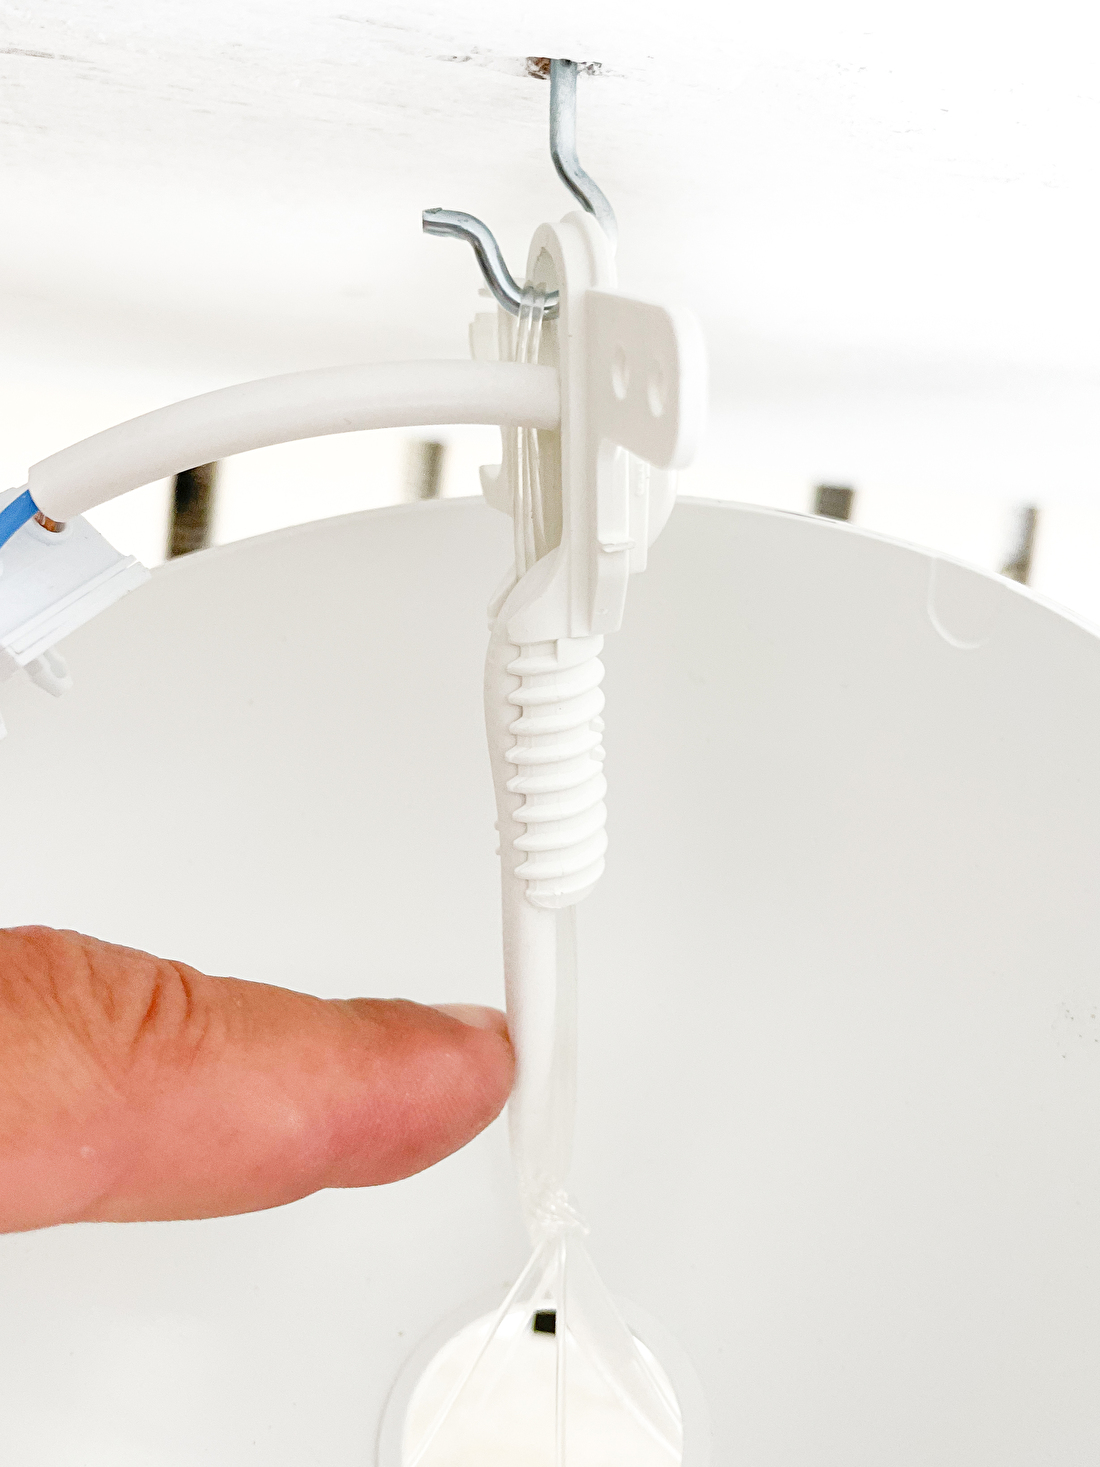
The part that secures everything securely to the ceiling consists of two parts. Unclip these two parts and loop them around both the power cord and the lamp loop (see photo). Then, clip the second part back on. You can now tighten this part to the suspension part/threaded system that's already attached to the ceiling under the ceiling rose.

A neat result that shows the Capis shell pendant lamp to its best advantage!
Hanging with a ceiling fitting
With a ceiling fitting, you can easily and beautifully hang the smaller Capiz pendant lamps (40cm diameter/60cm length and 60cm diameter/80cm length) as a ceiling light. You can choose this type of fitting when ordering at no extra cost! We'll explain how to do it here. This hanging method allows the lamp to extend slightly from the ceiling, which looks better than hanging it directly against the ceiling.

Make sure the power is off and connect the ceiling fixture to the power outlet from the ceiling socket or elsewhere. There are cutouts in the ceiling fixture (which you can break out if necessary) to allow steam to exit from the side.
Mount the ceiling fitting to the ceiling or ceiling socket using screws of the appropriate size.
CAUTION: Tighten the screws carefully so as not to break the plastic. If the plastic breaks, the lamp will not hang securely!
Unscrew the rotating ring from the ceiling fixture. Ignore the loop attached to the Capiz pendant lamp; bundle it with a zip tie (or similar) or cut it off. Keep the rotating ring of the ceiling fixture handy and slide the bulb's hole over the threads of the ceiling fixture.
NOTE: Once you cut off the loop, you will no longer be able to hang the lamp in any other way!
Hold the bulb in place and screw the ceiling fitting's rotating ring over the threads of the ceiling fitting, just like a lampshade. The rotating ring that holds the bulb in place has one round and one flat side. It's best to tighten the flat side against the bulb.
The ceiling light is up! A neat and tidy result that really shows off the Capiz shell pendant lamp to its best advantage!
XL Capiz pendant lamps to hang as ceiling lamps ( with a ceiling fitting and four screws/plugs)
Our XL Capiz pendant lamps can also be hung as ceiling lights! Due to the size and weight of the lamp, additional mounting points are required in addition to the ceiling fitting to ensure the lamp hangs securely and doesn't warp. For this, four holes need to be drilled in the top plate, corresponding to four holes/plugs in the ceiling. The lamp can then be mounted to the ceiling with a ceiling fitting and four screws (with spacers). You can choose the ceiling fitting when ordering at no extra cost!
We explain how to do this here.
- To install the ceiling fitting, follow the instructions earlier on this page.
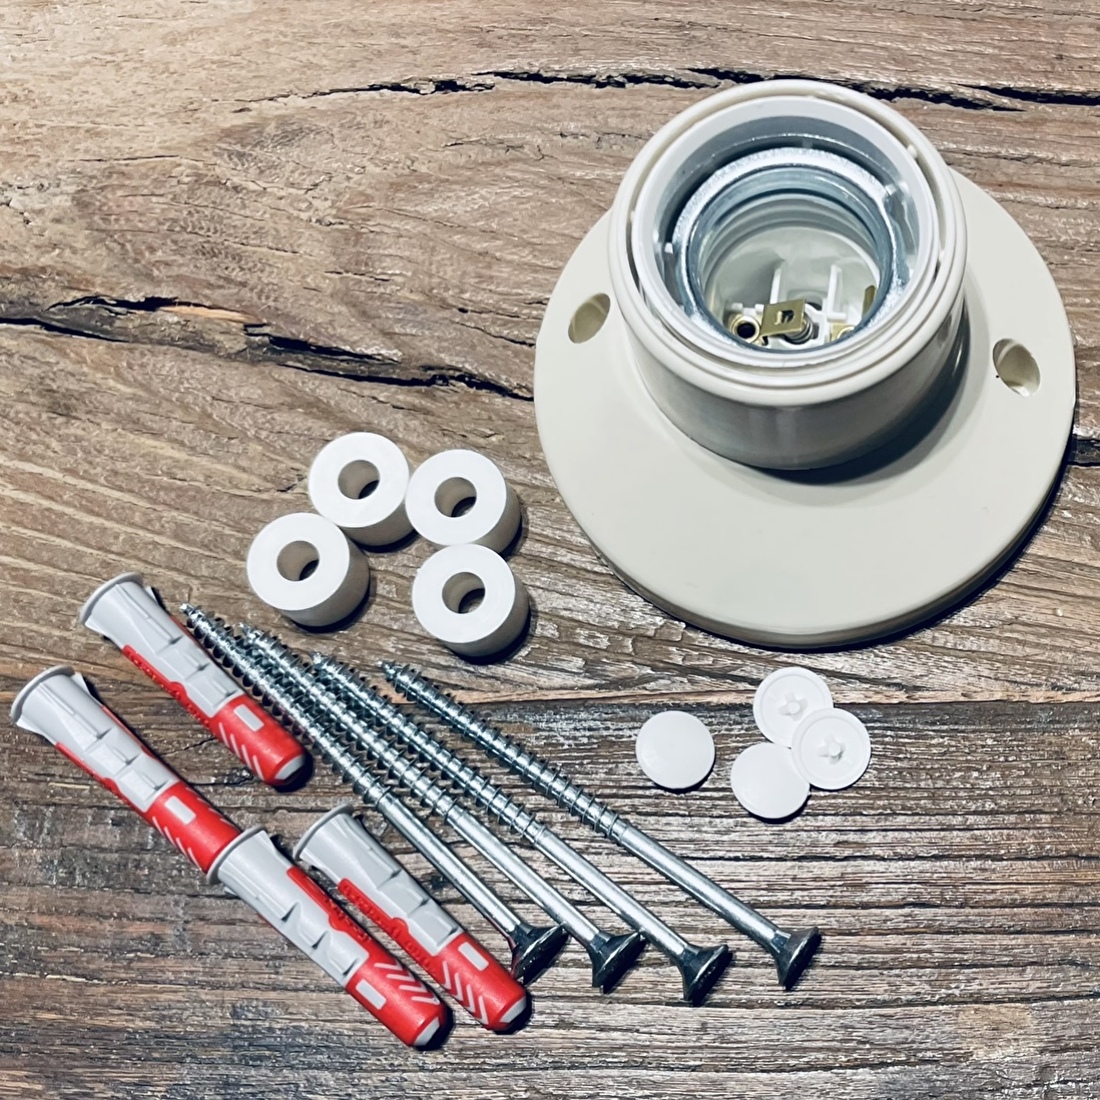
Materials: A ø5mm wood drill bit, four ø5mm/80mm Phillips head screws, four ø8mm/~40mm wall plugs, and a concrete block for the plugs. Optional: four 28mm spacers with a ø5mm socket and four screw covers.
Drill four (5mm) holes in a crosshatch pattern into the top plate of the XL Capiz lamp, each 25cm from the center. It's easiest to drill the holes from the top of the plate (i.e., the side without the shells). If necessary, print out this A4 drawing four times and place it on the plate as shown in the photo below to easily mark the drill holes. NOTE: The arrows should point toward the center of the lamp. If there are fishing lines in the way, simply rotate the plate slightly until you have clear spots to drill.

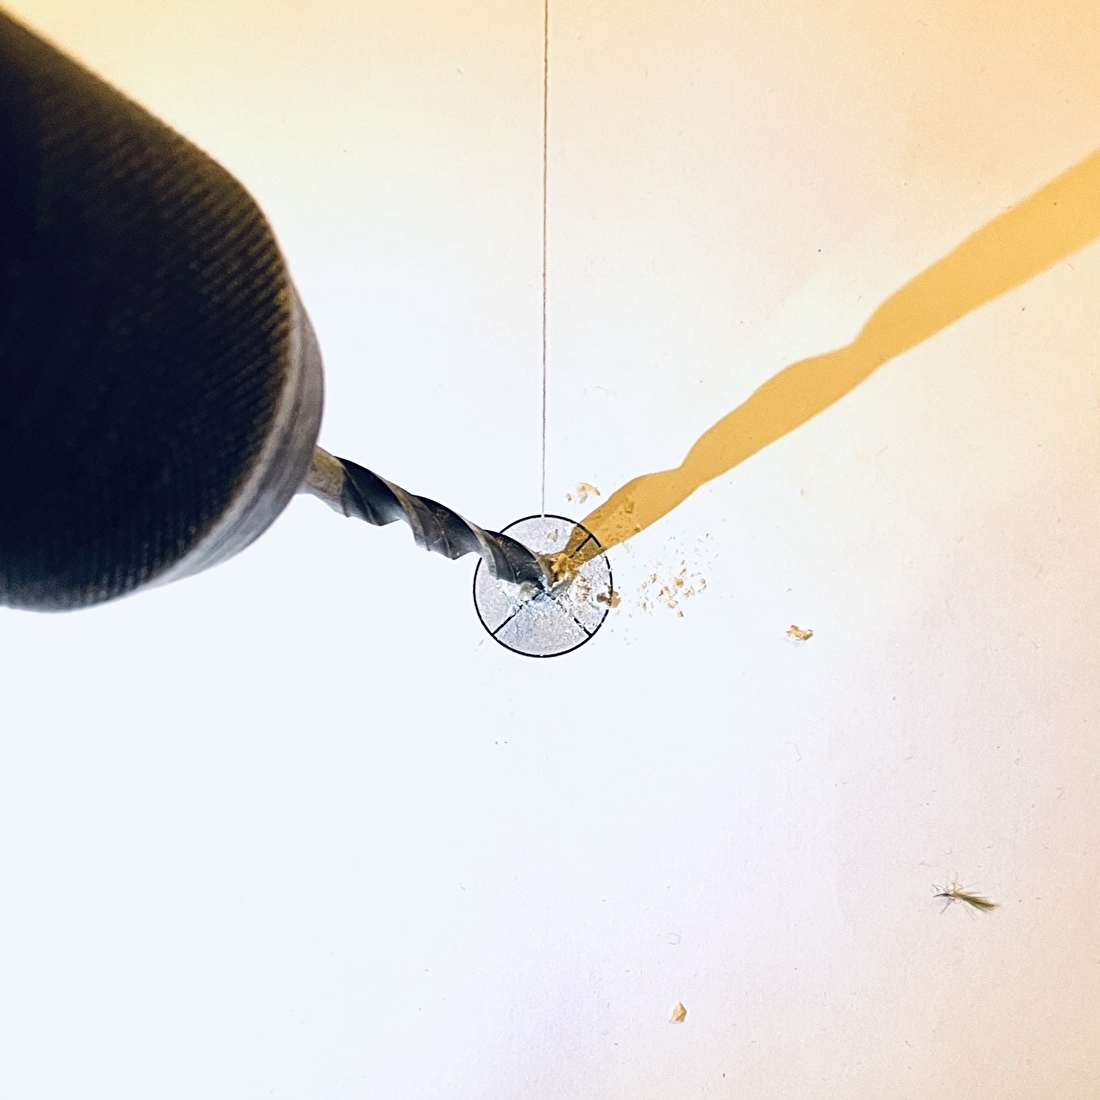
To mark, you can drill through paper to mark the correct spot.
When drilling, be mindful of the fishing line the shells are hanging from and don't drill through it! If necessary, rest the lamp on something on the sides so the hangers hang off the plate while drilling. Now drill the four holes. Use a sharp wood drill bit (5mm). This drills easily through the plywood/shell plate. Let the drill do its work to keep the shells intact, so don't press too hard while drilling.

Now drill the holes with a sharp ø5mm wood drill so that the shells are not damaged.

There are now four neat holes in the top plate of the Capiz lamp.
Mark the holes to be drilled on the ceiling by holding the lamp in the correct position against the ceiling and creating a mark through the holes. Make sure you use the correct plugs/screws; these sizes should always be aligned.
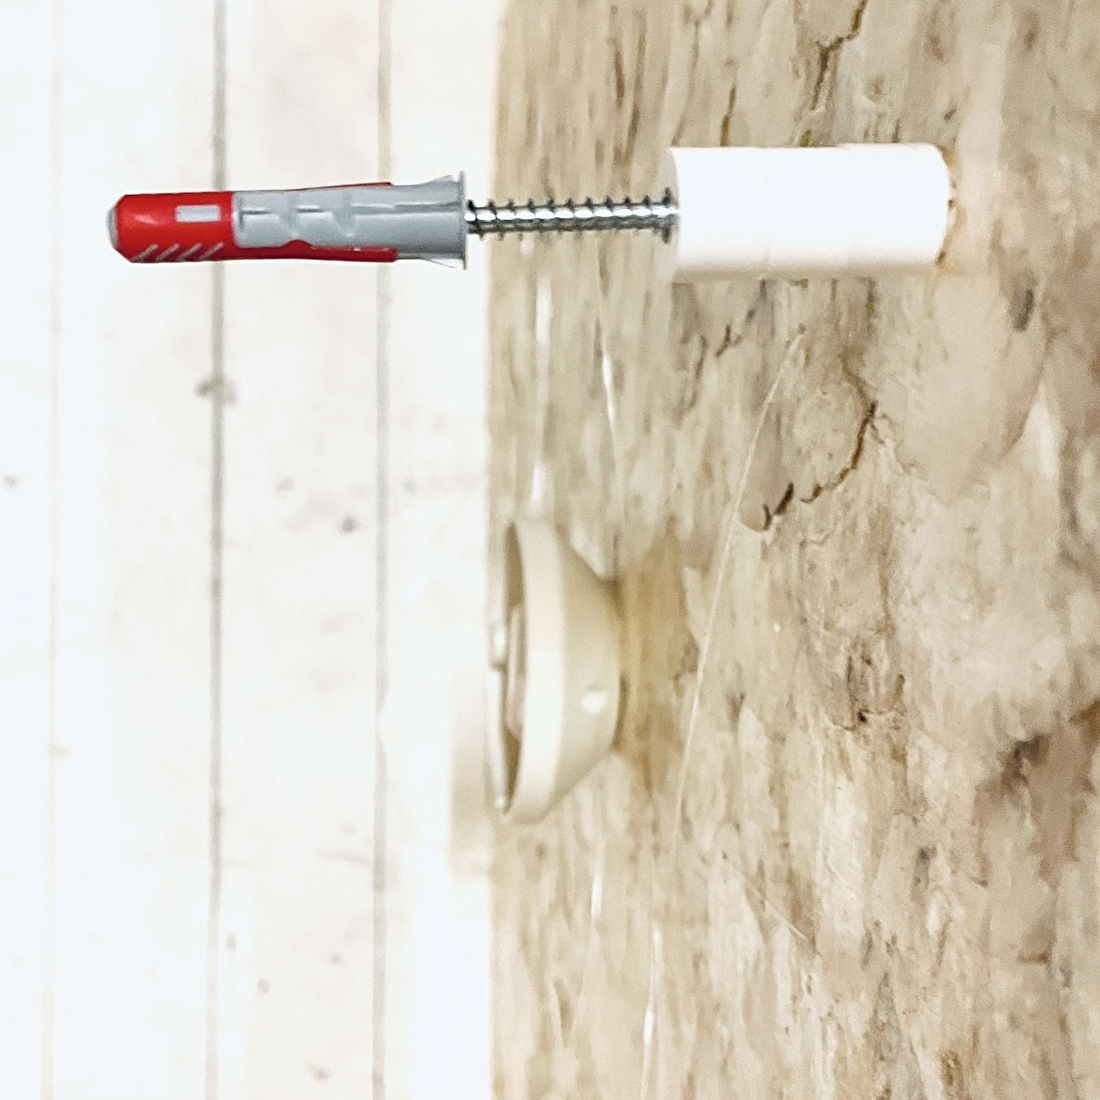
Once the holes are in the ceiling with the wall plugs in place, you can attach the light fixture over the ceiling fixture and screw the screws through the holes in the lamp's plate (possibly through the spacers) into the wall plugs. For the easiest way, screw each screw slightly into the wall plug before tightening them. Place the spacer between the ceiling and the light fixture so that the light fixture hangs neatly a few centimeters from the ceiling, corresponding to the ceiling fixture. This also looks much better than having it flush against the ceiling.
 Tighten the screws until the head is flush with the plate, and the pointed part of the head engages with the plate. This ensures a secure and neat fit.

To ensure everything is neatly covered, place a protective cap on the skull. We used a white one for the photo to make it clear. These protective caps are available in white and dark beige, which complements the gold perfectly.